
Installing Applicare Standalone Agent as a windows service

From Applicare 7.5.7 onwards
Installing Applicare Standalone Agent as a windows service
Note:
a) Please make sure that the "JAVA_HOME" environment variable is set properly in the Applicare Standalone installation machine.
b) Inside the "JAVA_HOME" path please make sure either one of the "jvm.dll" files is available.
%JAVA_HOME%\jre\bin\server\jvm.dll
(or)
%JAVA_HOME%\jre\bin\client\jvm.dll
C) Please execute the scripts and commands in the Administrator mode.
Steps to build and install Standalone Agent
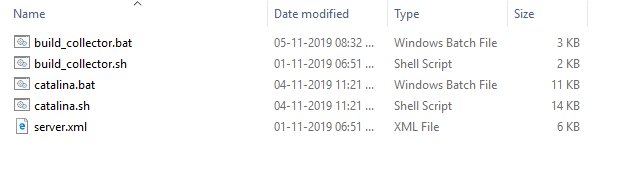
1. In the Applicare server home directory go to the path <ApplicareServerHomeDirectory>/agent/Standalonecollector/build/
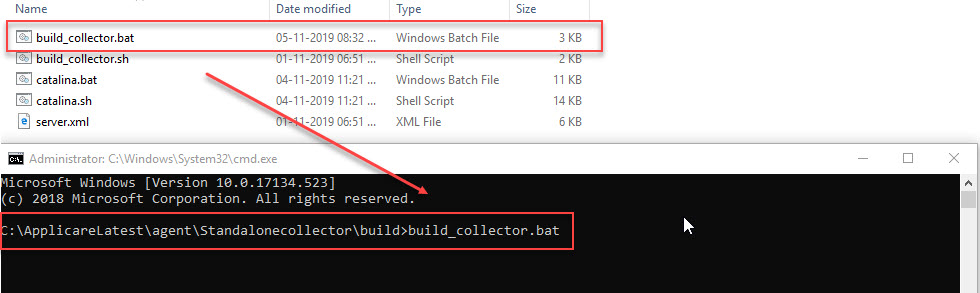
2. Run the "build_collector.bat" file in Administrator mode.
3. It will generate two files "Applicare.jar" and "StandaloneInstaller.jar". Copy the above two files and paste it in the destination folder where we are going to install our Standalone Agent.

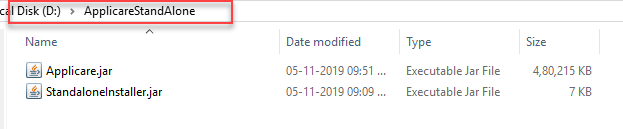
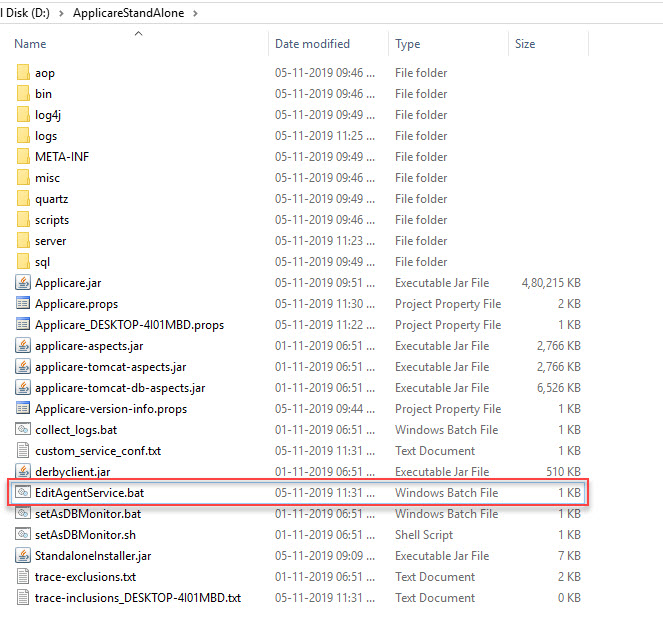
4. Copied and pasted the files in the destination folder "D:/ApplicareStandAlone".
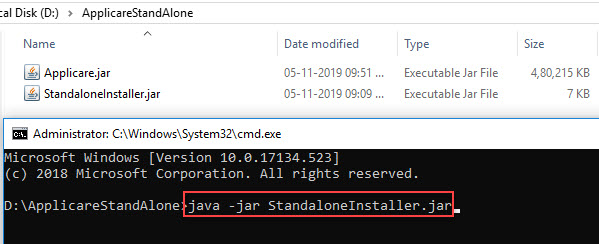
5. Open the command prompt in Administrator mode and enter the below command and press enter.
Syntax:
java -jar StandaloneInstaller.jar
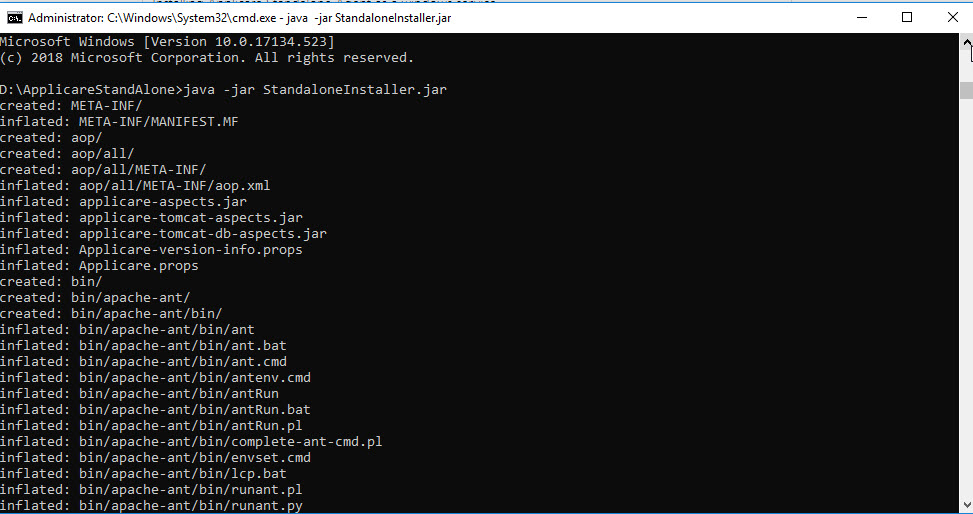
6. It will install the standalone agent as a windows service.


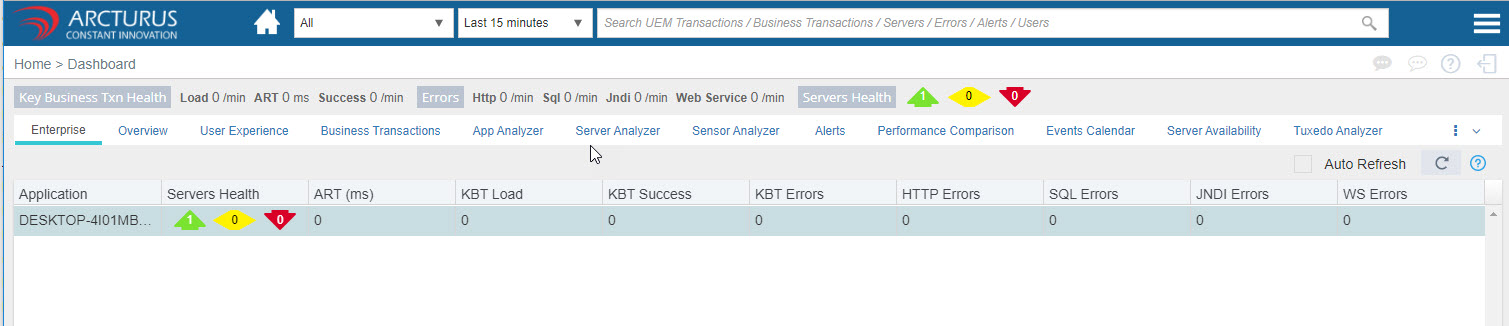
7. After installing the agent it will automatically be added to the Applicare server. Open the Applicare console to view the server details.
Overview screen:

Dashboard:
8. To Edit/View or Delete the service
Go to the <ApplicareAgentHomeDirectory> and execute the bat file "EditAgentService" in Administrator mode.
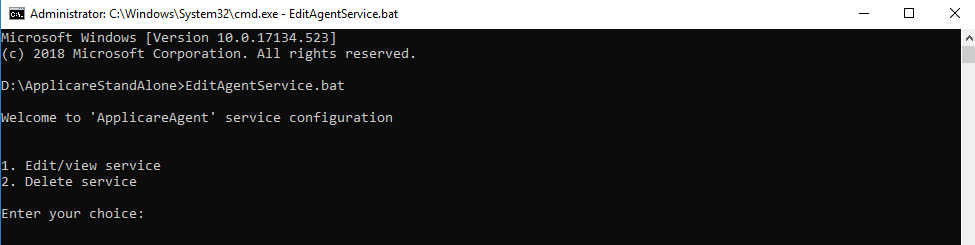
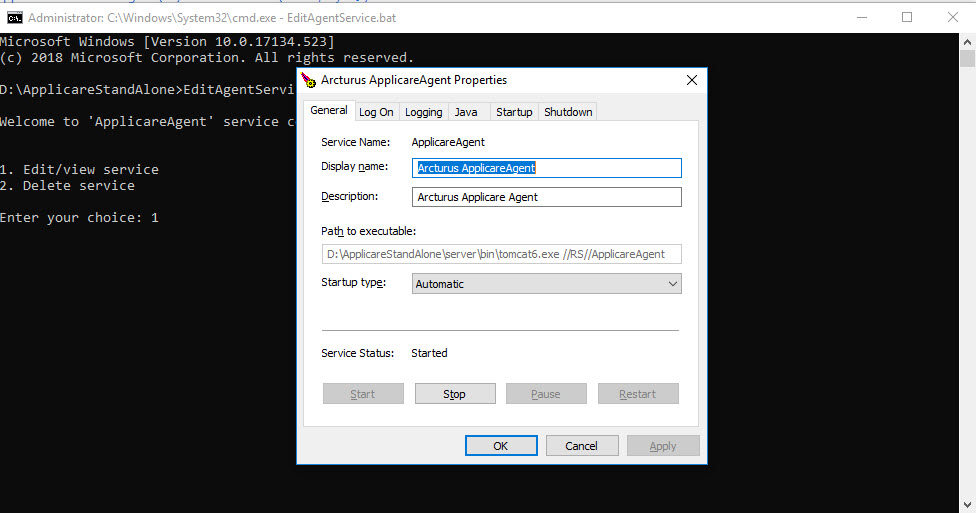
Edit/View the service
Enter 1 to view or edit the service details.
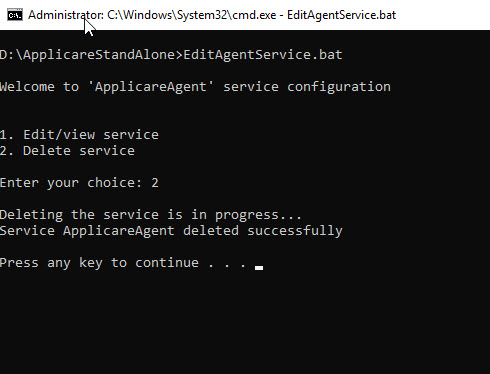
Delete service
Enter 2 to delete the existing service.
9. To create the service after deleting the old service. Go to <ApplicareAgentHomeDirectory> and open the command prompt in Administrator mode and enter the below command and press enter.
Syntax:
java -jar StandaloneInstaller.jar
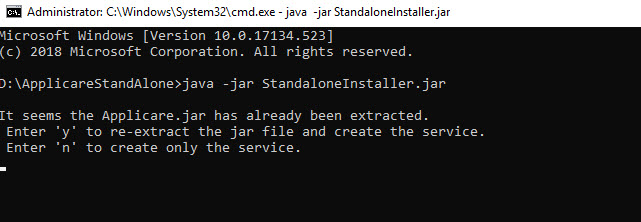
Since we have already extracted the "Applicare.jar" file it will prompt two options.
y -> It will delete the existing extracted files and re-extract the "Applicare.jar" file and create the service.
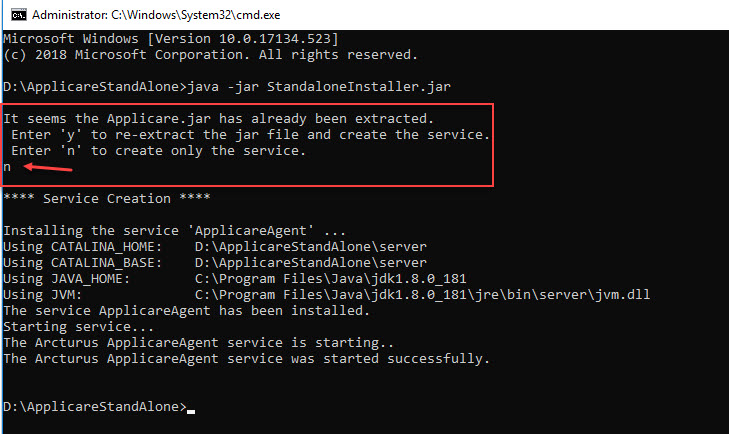
n -> It will only create the service.
Selecting Option 'n'
For adding multiple StandaloneAgent in the same machine
1. Copy "Applicare.jar" and "StandaloneInstaller.jar" files and paste it in the destination folder where we are going to install our Standalone Agent.
2. Open the command prompt in Administrator mode and enter the below command and press enter.
Syntax:
java -jar StandaloneInstaller.jar servername serverport servicename
Replace servername, serverport and servicename with custom values.
For Example:
servername -> Agent2
serverport -> 9881
servicename -> Agent2
So the above command will be
java -jar StandaloneInstaller.jar Agent2 9881 Agent2
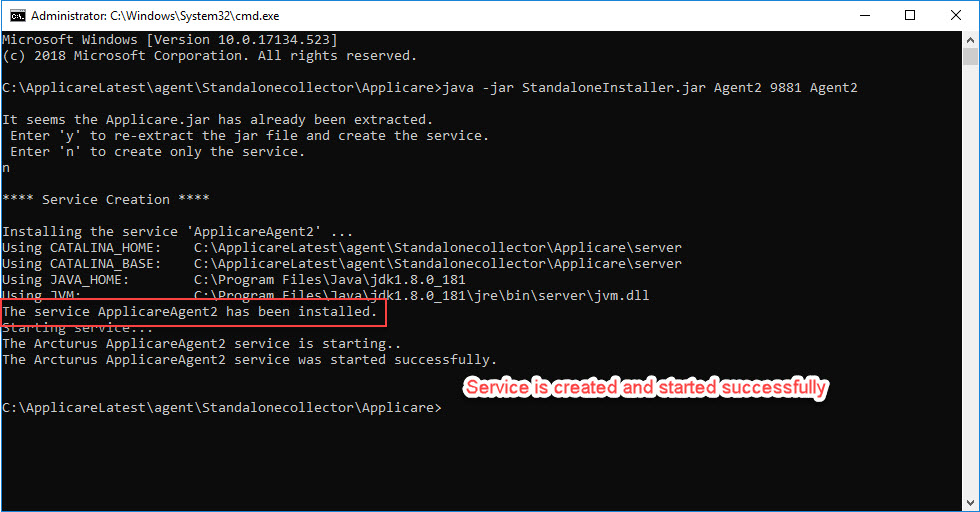
Go to services in windows and view the created service.
From Applicare 7.5.7 onwards
Passing the IP address as one of the arguments while auto adding the agent to applicare dashboard.
Open the command prompt in Administrator mode and enter the below command and press enter.
Syntax:
java -jar StandaloneInstaller.jar servername serverport servicename ipaddress
Replace servername, serverport, servicename and ipaddress with custom values.
For Example:
servername -> Agent2
serverport -> 9881
servicename -> Agent2
ipaddress -> 192.168.0.1
So the above command will be
java -jar StandaloneInstaller.jar Agent2 9881 Agent2 192.168.0.1
Link for Standaloneinstaller:
https://arc-temp.s3.amazonaws.com/Standaloneinstaller/StandaloneInstaller.jar
Please sign in to leave a comment.
Comments
0 comments