
Start/Run Applicare .NET Profiler automatically as a task using Windows task scheduler

On Windows
- Open Start.
- Search for "Task Scheduler", and then select the Task Scheduler from the result.


- Right-click the "Task Scheduler Library" branch, and select the New Folder option.
- Type a name for the folder. For example, Applicare_Profiler.
- Click the OK button.


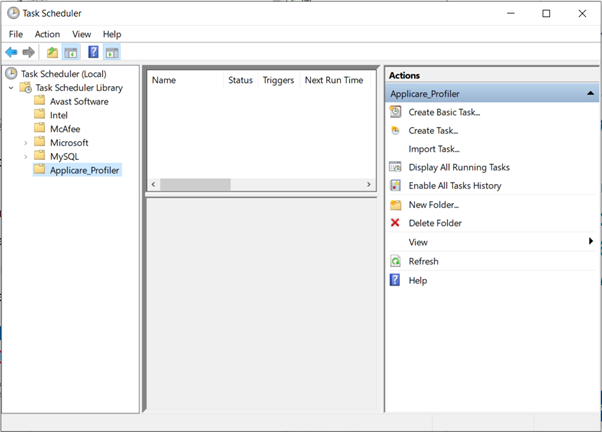
- Expand the "Task Scheduler Library" branch, and select the Applicare_Profiler folder.
- Click the Action menu.
- Select the Create Task option.

- In the "Name" field, type a short descriptive name for the task. For example, ApplicareDotnetAgent.
- Select the Admin user account in “When running the task, use the following user account:”
- Select the options “Run whether user is logged on or not” and “Run with highest privileges”

- Click the Triggers tab.
- Click the New button.

- Select “At startup” option from the "Begin the task" drop-down menu.
- Make sure Enabled check box is checked.
- Click the OK button.

- Click the Action button.
- Click the New button.

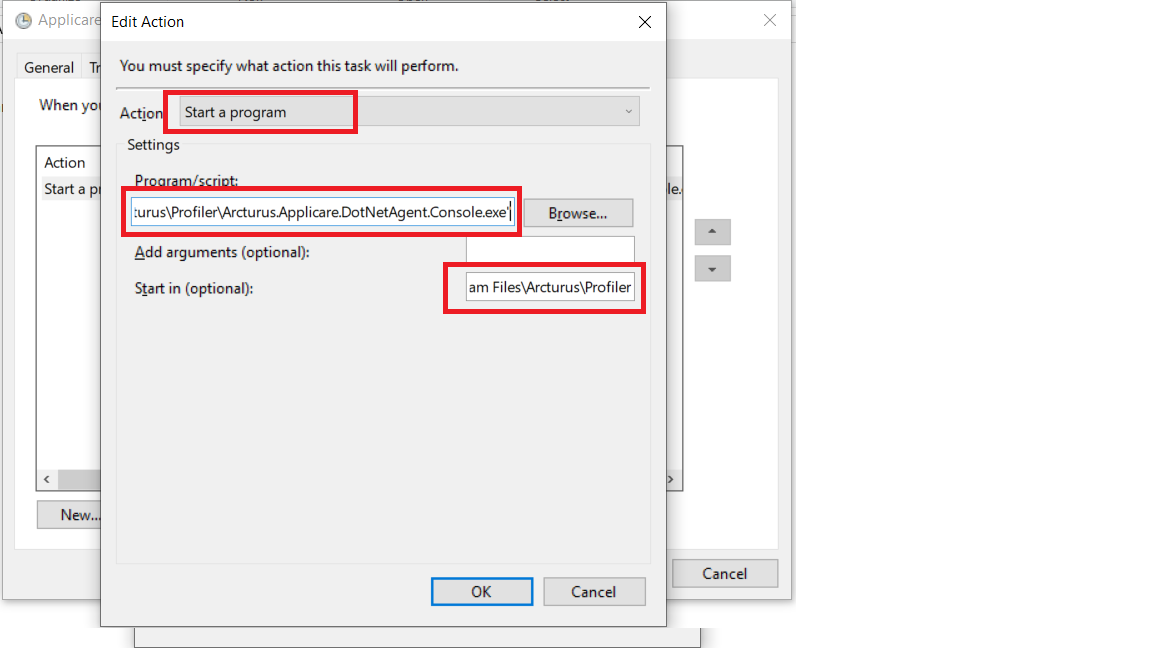
- Use the "Action" drop-down menu and select the Start a program option.
- Under the "Settings" section, in the "Program/script" field, specify the path for the <DOTNET_AGENT_INSTALLED_PATH>/Arcturus.Applicare.DotNetAgent.Console.exe executable. The default path is C:\Program Files\Arcturus\Profiler\ Arcturus.Applicare.DotNetAgent.Console.exe
- In the start in option: Enter the <DOTNET_AGENT_INSTALLED_PATH>\Profiler folder path. Default is C:\Program Files\Arcturus\Profiler
- Click the OK button.
- Click the Settings tab.
- Configure the options as given in the below image

- Click the OK button.
Once the task is created, Select the task and click on Run to start the task.

To make sure the profiler is started click on "Display all running Tasks" under Actions section. It will list all the running tasks.


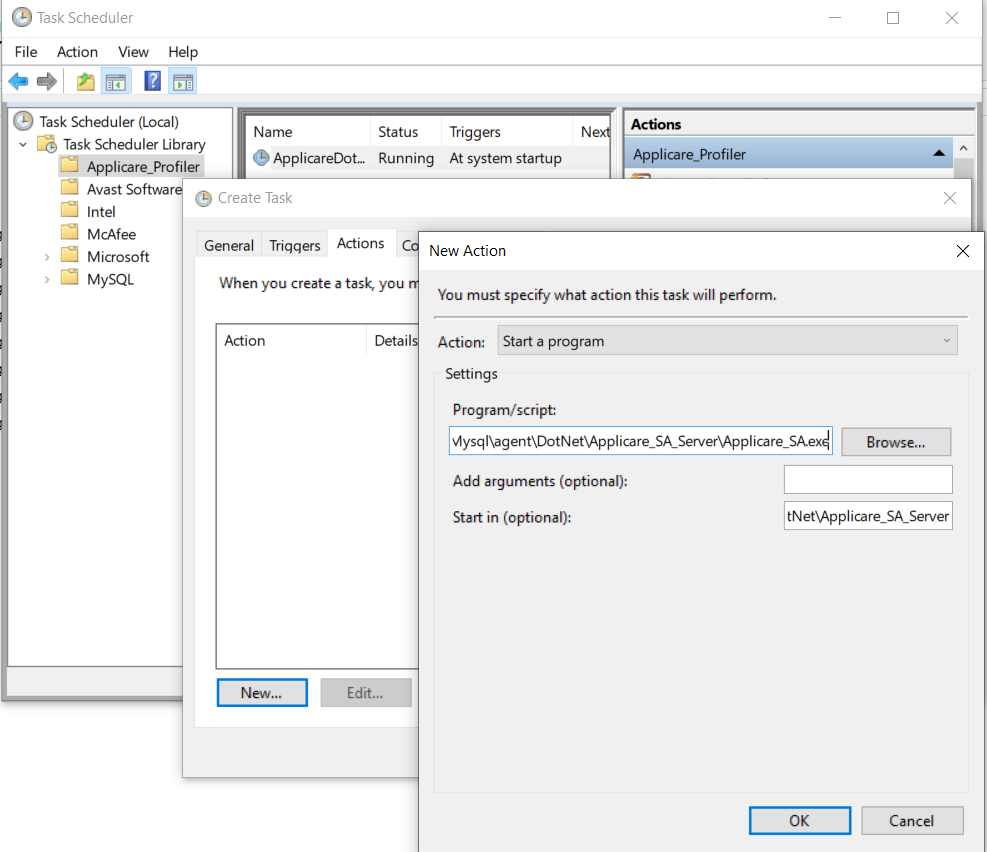
Similarly, follow the same steps for Dotnet standalone agent(Applicare_SA.exe)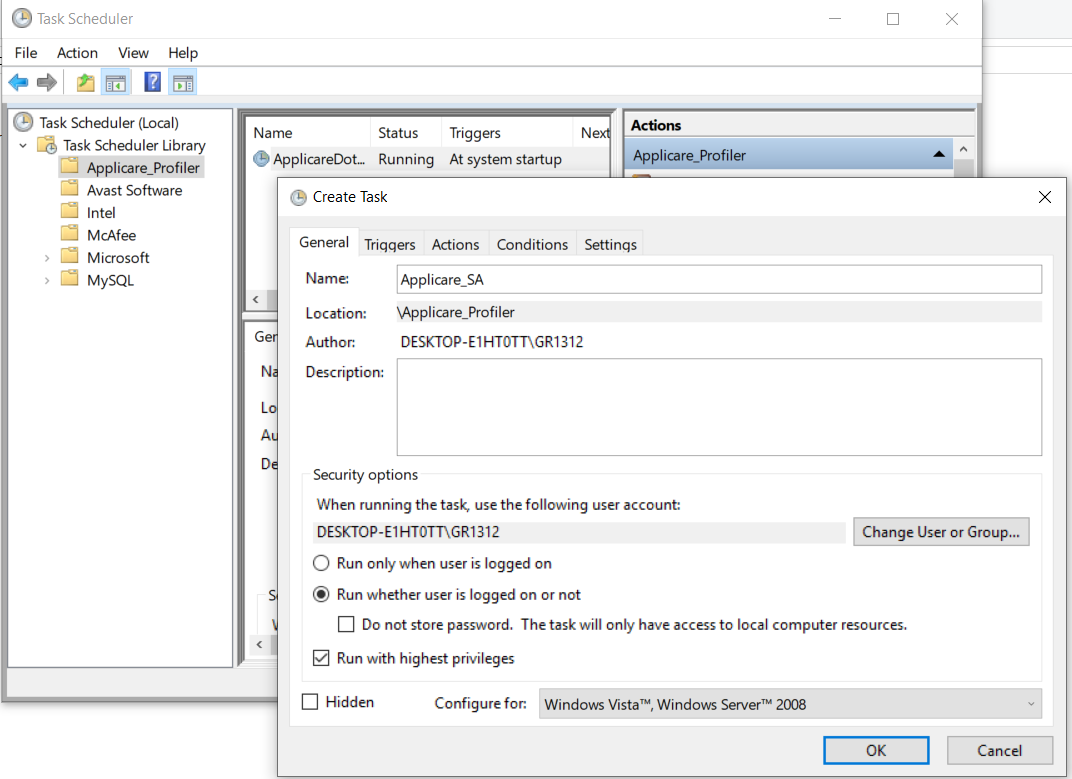


Please sign in to leave a comment.
Comments
0 comments